
The recommendation is that you download the latest version of this package from CRAN, as I am constantly updating this repository. If you do download from here, know that things may break sometimes
# From CRAN
install.packages(r2resize)

# OR from Github
library(devtools)
install_github("oobianom/r2resize")

# Load library and begin using functions
library(r2resize)

# JQuery is required for most of the functions to run effectively
add.JQuery() #optional: only add if the page does not automatically include JQuery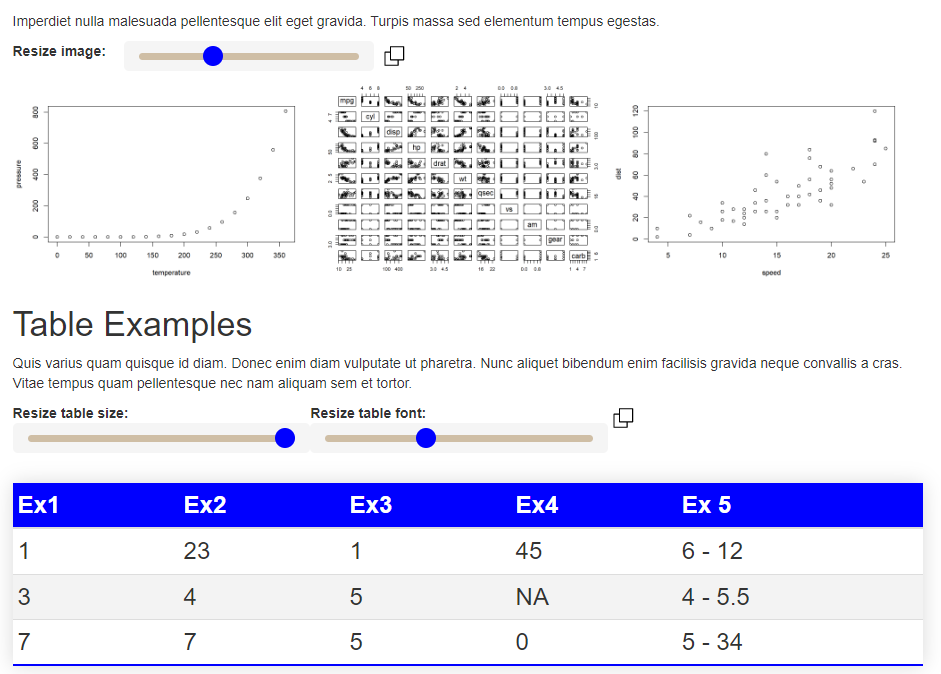
Code:
r2resize::add.resizer(
  theme.color = "black",
  position = "top",
  font.size = "12px",
  font.color = "black",
  tables = TRUE,
  images = TRUE,
  line.color = "orange",
  line.height = 5,
  line.width = 200,
  default.image.width = "40%"
)Output:
Code:
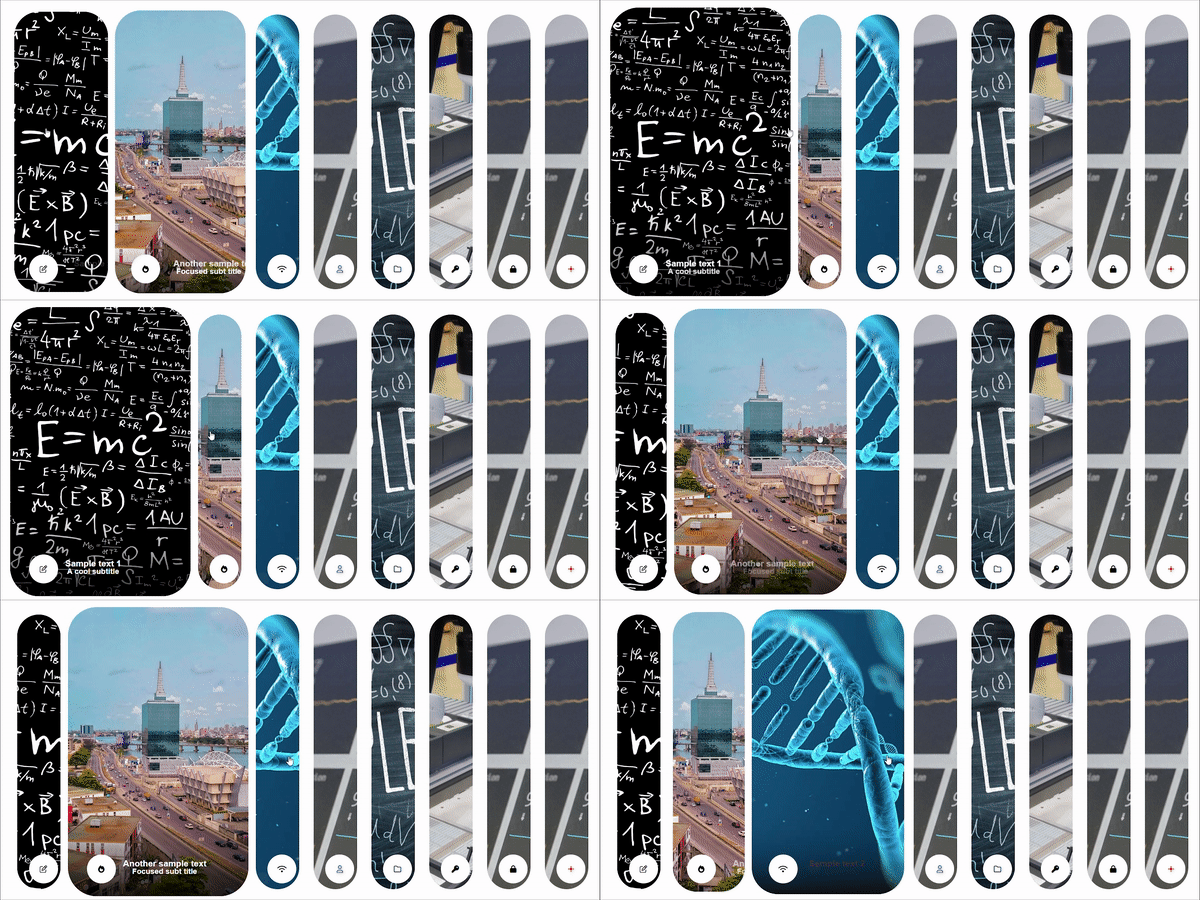
flexCard(
  image = c(bg = "image1.jpg", icon = "edit", title="Sample text 1",subtitle="A cool subtitle"),
  image = c(bg = "image2.jpg", icon = "fire", title="Another sample text",subtitle="Focused subt title"),
  image = c(bg = "image3.jpg", icon = "wifi", title="Sample text 2",subtitle="Color text",text.color="brown"),
  image = c(bg = "image4.jpg", icon = "user", title="Sample text 3",subtitle="Color text and icon",icon.color="blue",text.color="purple"),
  image = c(bg = "image5.jpg", icon = "folder", title="Sample text 3",subtitle="Sub it is"),
  image = c(bg = "image6.jpg", icon = "key", title="Sample text 4",subtitle="Sub it is"),
  image = c(bg = "image7.jpg", icon = "lock", title="Smaple",subtitle="Sub it is",text.color="green"),
  image = c(bg = "image8.jpg", icon = "plus",icon.color="red"),
  border.color = "gray",
  border.width.px = 0,
  active.panel = 2
)Output:
Code:
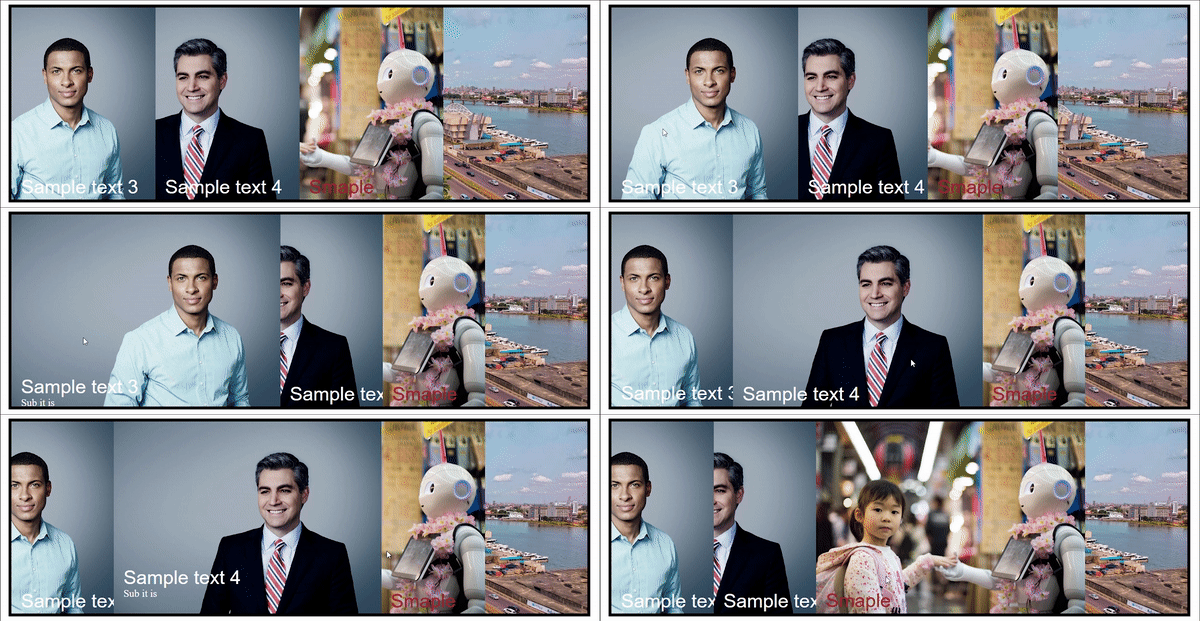
elastiCard(
  image = c(bg = "image1.jpg", title="Sample text 3",subtitle="Sub it is",descr="Sample description"),
  image = c(bg = "image2.jpg", icon = "key", title="Sample text 4",subtitle="Sub it is"),
  image = c(bg = "image3.jpg", icon = "lock", title="Smaple",subtitle="Sub it is",text.color="brown"),
  image = c(bg = "image4.jpg"),
  border.color = "black",
  border.width.px = 5
)
Output:

Code:
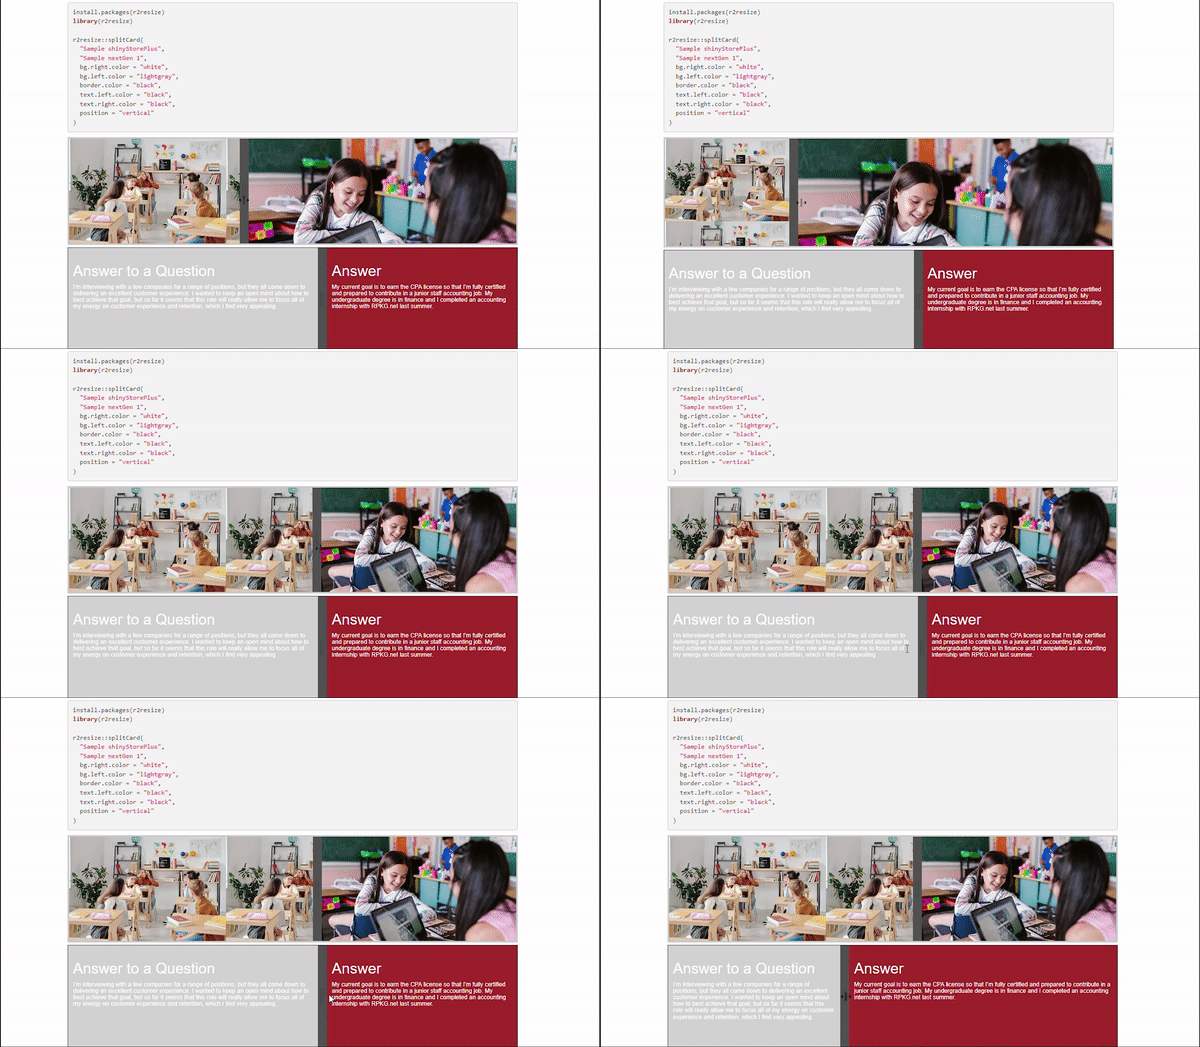
splitCard2(
  "question text 1",
  "answer text 2",
  bg.right.color = "black",
  bg.left.color = "red",
  text.left.color = "white",
  text.right.color = "white",
  slider.position = "95"
)

NOTE: Please note that r2resize::add.resizer() should only be used in Rmarkdown or Quarto